

by Everett 4/16/2020
These days the easiest and most reliable way to install a floor with a border is to build the field first with the boards running past the border line, then cut nice straight lines with a track saw to build the border off of. If you set the border first and build the field afterwards, not only will you have to angle match every single board, but you'll have to cut every single row to the perfect length. It can certainly be done this way, but it's very tedious and difficult to pull off perfectly. Before the advent of track saws, we would just nail down a straight board then run a normal circular saw along it with the blade set to the depth of the thickness of the flooring. It worked but it took more time and was a little risky. Track saws have a spring loaded plunge cut feature and ride on a straight track that has anti-slip foam strips on the bottom. All you have to do is place the track's edge on your lines and it stays put.
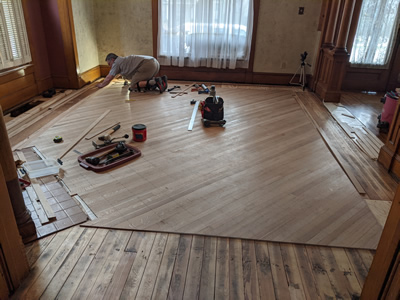
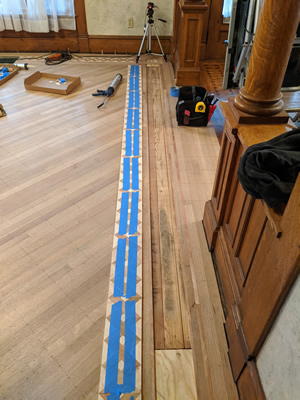
The process is pretty simple, layout the lines for the border so you don't place any nails where the track saw cut will run. Snap a line in the center of the field for the first row, then build the floor from the center going both directions. Once the cuts are made you can typically install the border then close in against the wall like a normal installation. The problem with that approach in this case is that this particular design was susceptible to moving around if you pry too hard on it. If you remember the final scene from the video on the last post, I taped the pieces together while they were contained within a frame that was set to the exact width that the border is supposed to be. So the question is how do I replicate that on site?
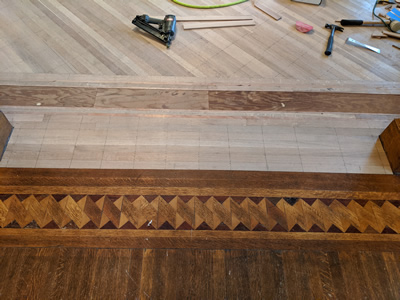
The plan we came up with was to rip some pieces of plywood to the exact width of the border, then close in the floor to the wall with these pieces of plywood in place- but without gluing or nailing them. This way we could wedge the flooring off the wall
like we normally would, then the next day after the glue had set up for the pieces on either side of the plywood, we could (hopefully) remove the pieces of plywood and have a perfect channel in which to place the taped up border pieces. It sounds like a good plan but who knows if it will work- maybe the boards on either side will move ever so slightly when the plywood gets pulled out, making it just a little bit too narrow. Every dimension of this design depends on the lengths and widths of everything around it. This includes the overall width, so if it ends up being too narrow it could be disastrous. Imagine having to trim a tiny little bit off of every one of those pieces, pure nightmare fuel.
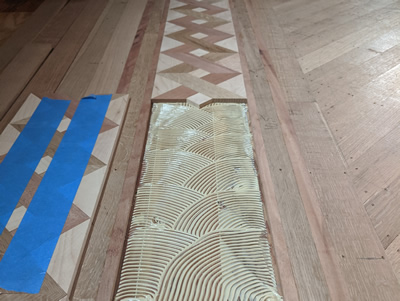
In the end I decided that it was worth the risk and we went forward with it. The next day the plywood pulled out very easily. I placed the tape measure on the opening just to see what the width was and it was perfect for most of it, at one of the ends of that stretch it was a little narrow. However when I tried to fit one of the sections of border into it it slid in with little persuasion. It was now time to finally install this thing and see the long awaited payoff. Ah but not so fast- I needed to make sure I started it in the right spot so that it looked good at the corners. If you take your time and make sure the corners are symmetrical, it makes it look like the ribbons continue through the corners behind the corner blocks. It's all in the details.
Once I knew where to start it it was finally time. Though the original design was nailed, I didn't want to put a bunch of nail holes in this border. Filler usually doesn't age well, even if you use a product that mixes with wood dust. Instead I decided to just do a full trowel glue down of just the border. Silane based adhesives have plenty of open time just in case there's a problem getting the border in, but overall it went very smoothly. After all the main stretches of border were installed I moved on to the corner blocks, and then to the border pieces that get cut to fit the corner frames. Rather than spend time setting up the jig for that, I just did it piece by piece since there were only 3 corners. The only intricate work left at that point was to cut in the frame for the hearth and the vent. I didn't do a video for the vent, I'm going through so much storage space that I'm going to need to get another hard drive after this project.